Once you’ve built your ecommerce store already using WooCommerce and have integrated PayPal as one of the payment options of your customers, how will you be able to know if PayPal will work as expected during the payment processing in your online store? The most important part on which every merchant or customer want more confidence is the payment part.
The best way to test it is not to use your actual PayPal account to make a purchase of your product. This will cost you real money and you will have to test it multiple times which is a hassle on your part.
In this post, I am going to show how you can test your WooCommerce store’s payment system using PayPal Sandbox without spending any real money. This will help you see and test the steps that your customer will take in making payments.
What is PayPal Sandbox?
PayPal Sandbox is a self-contained, virtual testing environment that simulates the live PayPal production environment. The sandbox provides a shielded space where you can initiate and watch while your apps process PayPal API requests without touching any live PayPal accounts.
Tutorial
The following steps below will guide you on how to use PayPal Sandbox to test PayPal payment in your store:
1. Create an account in the PayPal developer website or login if you have an existing account.
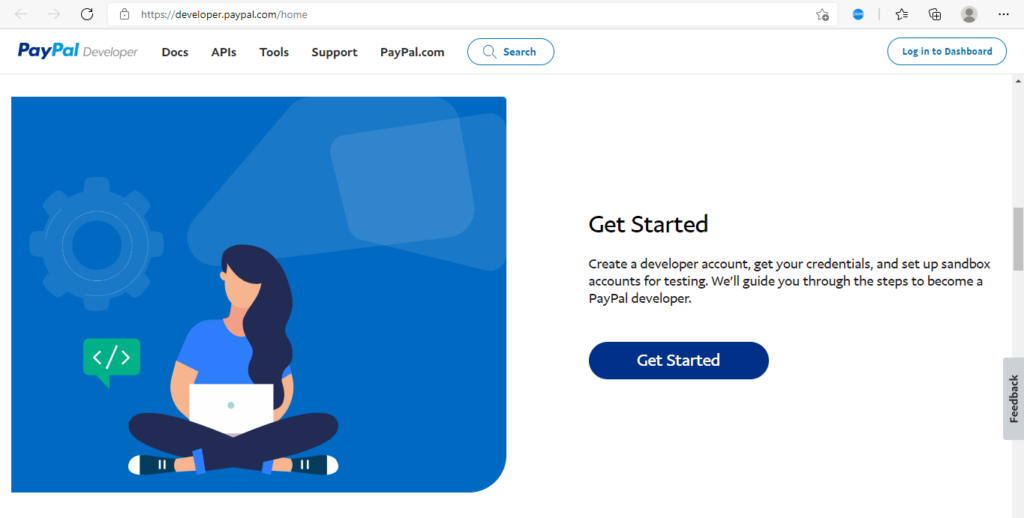
You can use your PayPal Developer account to:
• Create one or more PayPal Sandbox REST apps, which come with the client credentials you’ll need to make API calls in Sandbox.
• Create and access additional Business and Personal Sandbox accounts for testing.
2. Once logged in, go to Accounts page. PayPal will have already created two test accounts for you:
• the merchant: representing your shop’s PayPal account
• the buyer: representing a customer
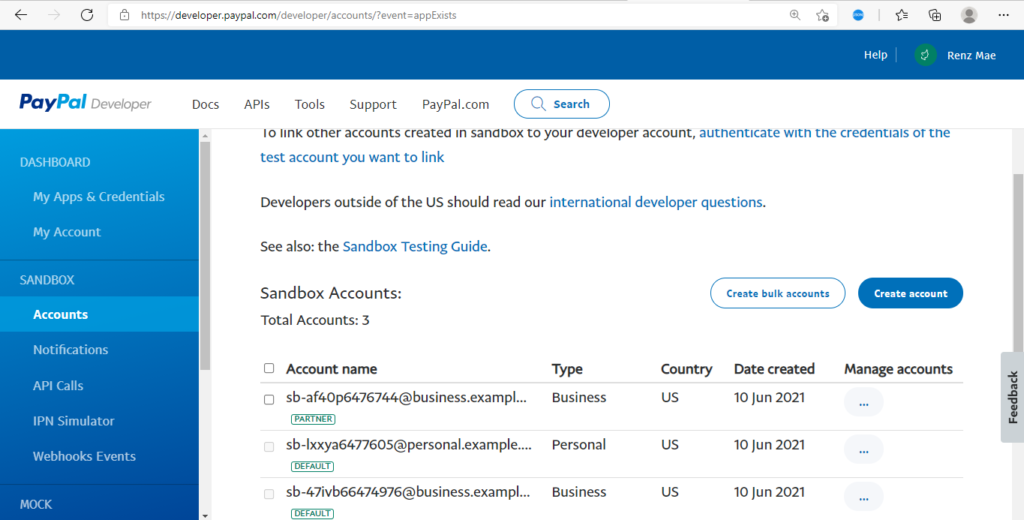
3. Configure WooCommerce PayPal settings. Go to your WordPress dashboard → WooCommerce → Settings → Payment Gateways → PayPal.
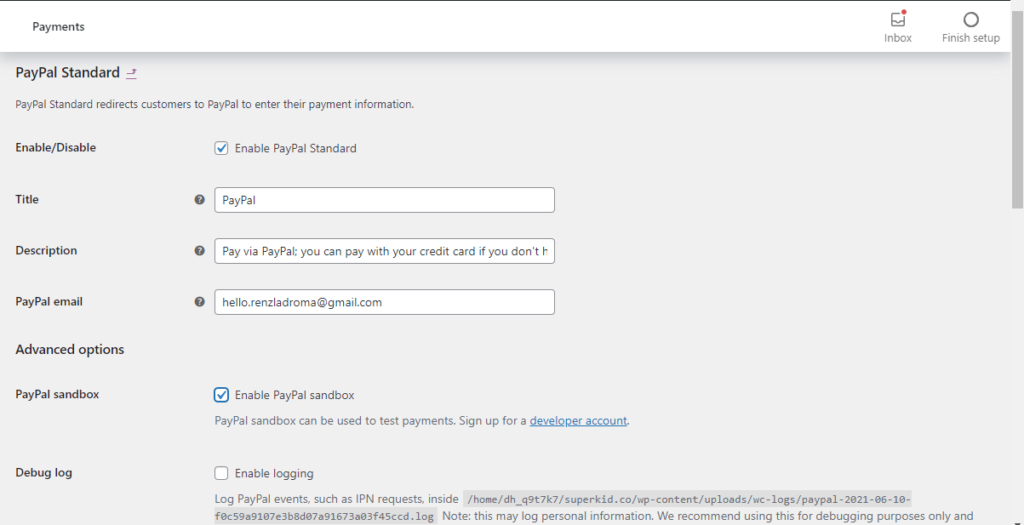
Configure it like this:
• Select checkbox: Enable PayPal Standard
• Use the merchant test account email you created in Step 2 above for the PayPal & Receiver email
• Select checkbox: Enable PayPal sandbox
4. Now make a PayPal test purchase.
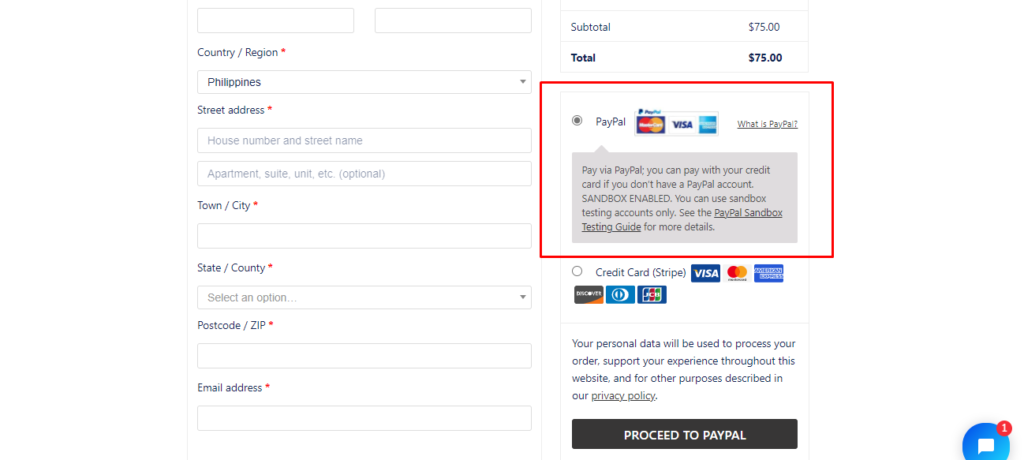
Using a different browser or just the incognito mode of your browser, visit your store and make a purchase. Click the ‘Proceed to PayPal’ button.
5. After you click the ‘Proceed to PayPal’ button, you will be redirected to the PayPal Sandbox test store to make your payment. You’ll know that it’s the test store because the URL is www.sandbox.paypal.com.
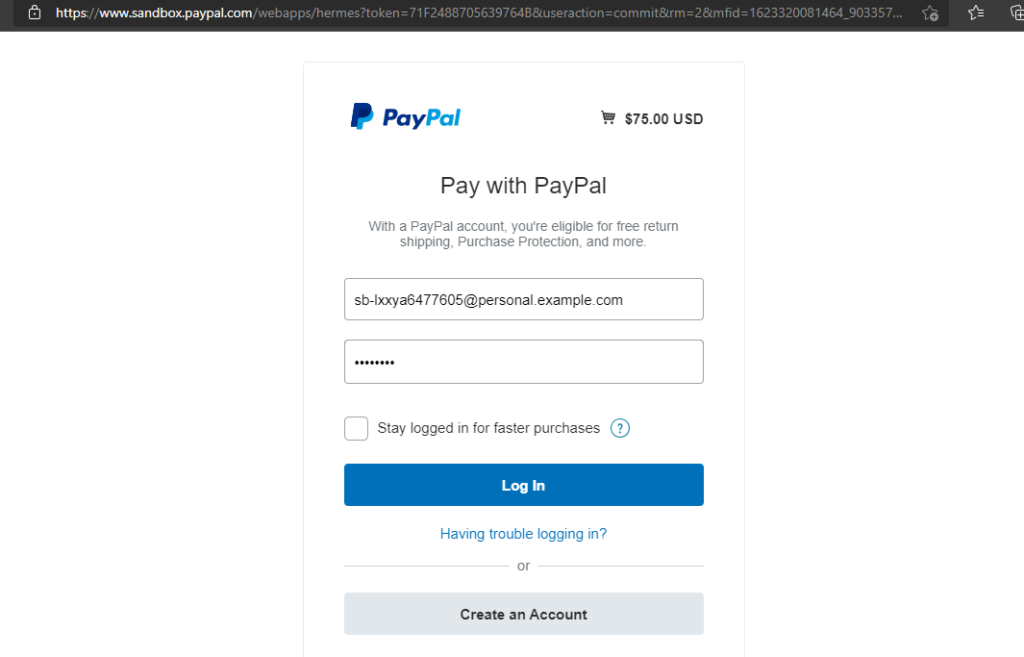
Use the buyer test account and confirm the payment.
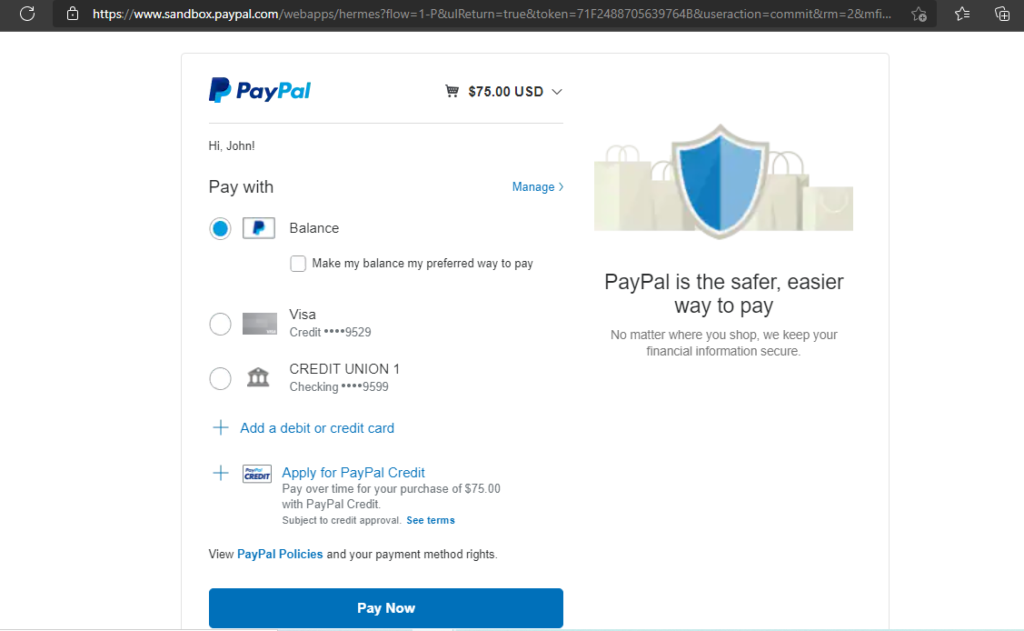
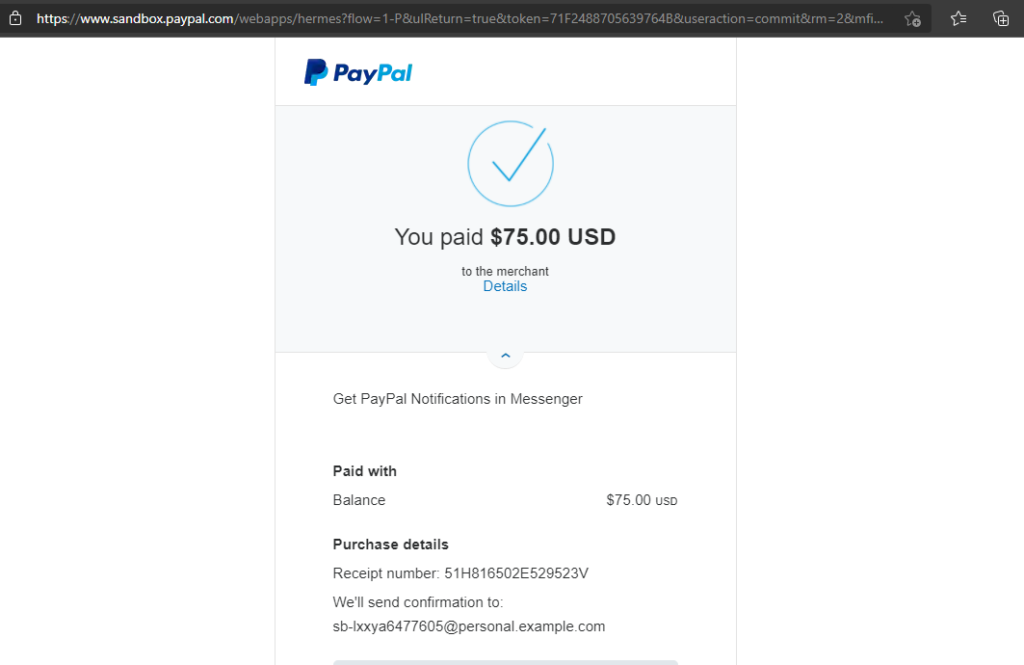
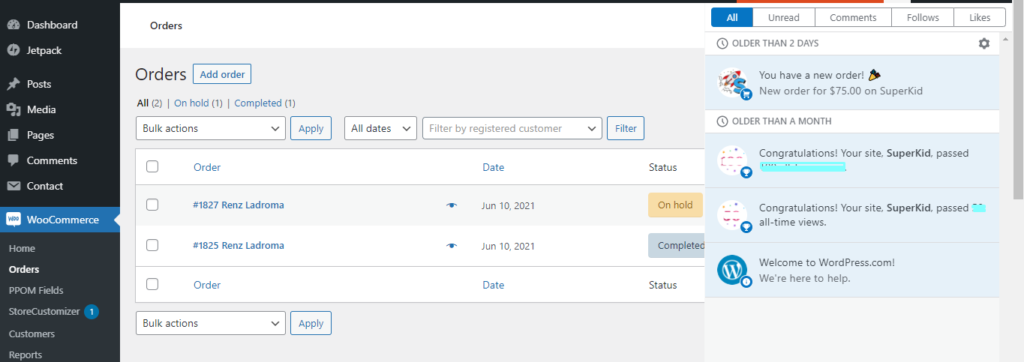
You can check the Accounts page of your ecommerce site and you’ll be able to see your successful order details.
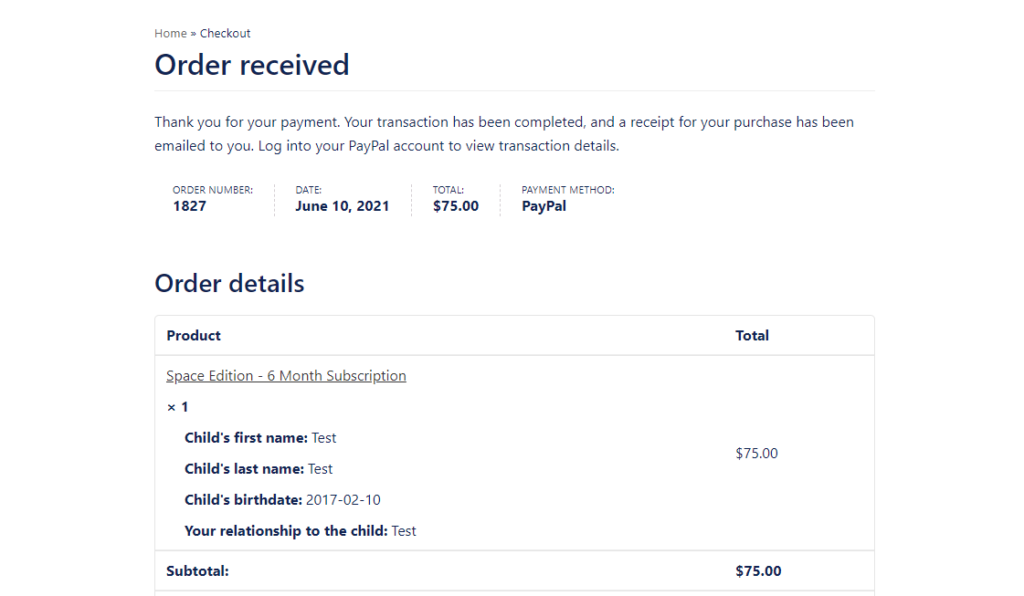
6. The PayPal Sandbox works almost exactly like the real PayPal site. So in every successful test payment, you will receive a notification.
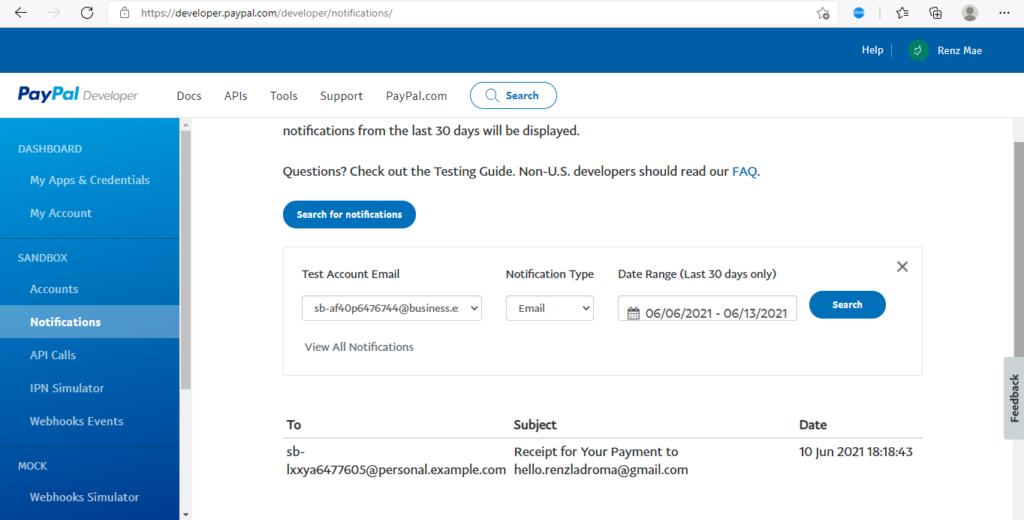
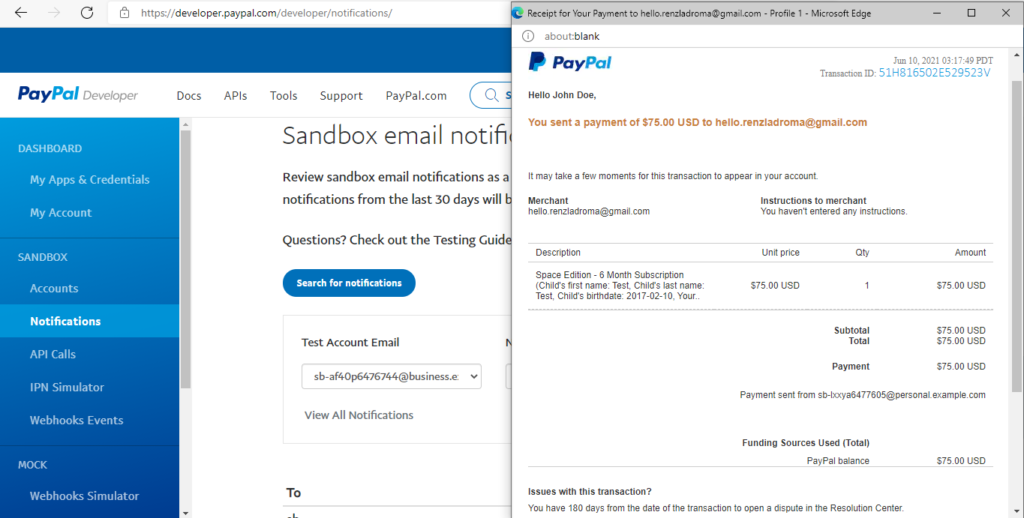
You can check the notification on your admin site. Even though what we did here is just a test payment, WooCommerce will still record them as orders in the system and will generate and send order confirmations, invoices, etc. Delete these orders once you’re done testing.
Email confirmations within the sandbox environment are sent to the ‘Notifications’ section within your PayPal Developer account, they are not sent to any external email addresses.
Once you’re done testing, remember to disable the sandbox and enter your real PayPal account details in your WooCommerce settings.
DISCLAIMER
The views, the opinions and the positions expressed in this article are those of the author alone and do not necessarily represent those of the companies or any company or individual affiliated with them.
This information should not be interpreted as an endorsement to use the applications, service or offering.